Of all the breads out there, sourdough bread is perhaps the most iconic. With its crisp crust, chewy texture, and tangy flavour, sourdough bread is a favourite of bakers and bread lovers alike. But making sourdough bread can be a bit intimidating, especially if you’re new to baking. In this post, I will walk you through a simple sourdough bread recipe, including how to make your own sourdough starter from scratch and provide some troubleshooting tips to help you achieve that perfect loaf. So roll up your sleeves, dust off your apron, and let’s get baking! You’ll be able to impress your friends and family with your bread-baking skills in no time.
Jump to:
Sourdough Starter
Sourdough Recipe
Sourdough Troubleshooting
Isn’t it weird how just the scent of homemade bread is enough to take us back to our childhood?
When I think of a homemade loaf, I think of my dad and I, both covered in flour from our heads to our toes. I think of my childhood, and how we always got do cool things in the kitchen. We always made our own pizza dough, our own rolls and warm crusty loaves. It is now much more of a rarity to find families who bake their own bread on a regular basis. However, I do try to keep that tradition as part of my own life.
I first made sourdough at the age of 19. I had no clue what I was doing. I remember taking it out of the oven, and I must say it looked good.. until I cut into it. Let’s put it this way.. Imagine a giant air pocket with a thick crust around it. The crust was good though, so I still ate it. One has to start somewhere, right?
Fast forward a few bakes and a few “aha” moments, and I quickly learned where I was going wrong. My starter wasn’t ready, the timings were off and the temperature was not right (I probably should not be admitting that I baked the first loaf at just 170C, should I?). I very quickly found myself descending into a sourdough baking obsession. I found the whole process so fascinating, from making my own starter by mixing together such simple ingredients, to baking that perfect, full of flavour crusty loaf.
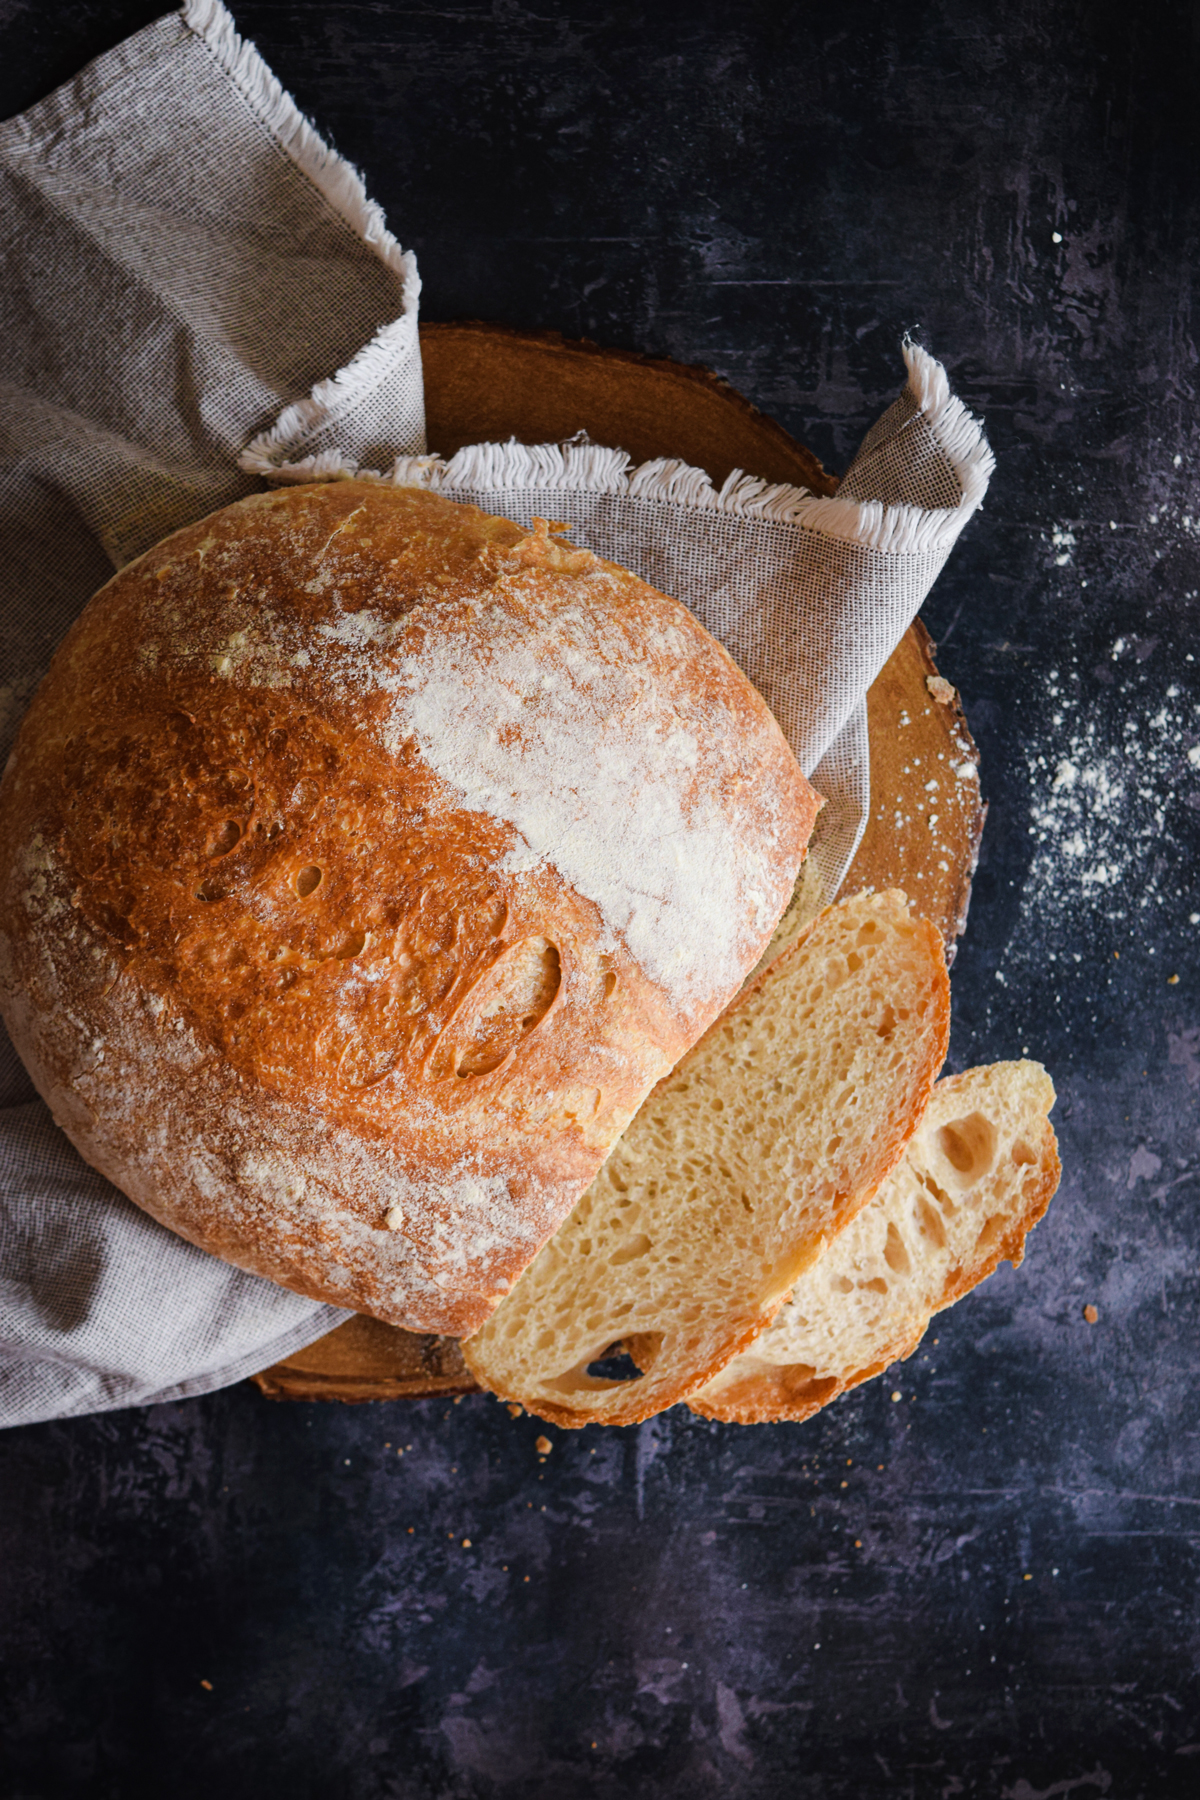
If there is one thing I want you to do, it is to bake this loaf, leave it on the kitchen counter, sit back and watch your family walk past it. Their heads will turn, their noses will lift and their eyes will close. I promise!
Sourdough starter
To make sourdough bread, you’ll need a few basic ingredients and some patience. The key to a good sourdough loaf is a bubbly, active starter (a live culture made from flour and water). If you don’t have a starter, you can make one by combining equal parts flour and water and leaving it to ferment for a few days.


I suggest starting with 60g lukewarm water and 60g whole wheat flour. Make sure to use a clean container and utensils every time you feed your starter to prevent contamination.
- In a clean jar or container, combine the lukewarm water and whole wheat flour. Use a fork or a small whisk to stir until well combined and there are no lumps of flour.
- Cover the jar with a clean kitchen towel or a loose-fitting* lid. Place the jar in a warm spot in your kitchen, away from direct sunlight.
- Let the mixture sit for 24 hours. You should see some bubbles and fermentation activity within the first few hours.
- After 24 hours, discard half of the starter (30g) and feed it with another 30g of whole wheat flour and 30g of lukewarm water. Mix well until there are no lumps of flour.
- Cover the jar again and let it sit for another 24 hours. You should see more bubbles and a more active fermentation.
- Repeat the feeding process every 24 hours, discarding half of the starter and feeding it with 30g of whole wheat flour and 30g of lukewarm water, until your starter is strong and active. This can take anywhere from 5-7 days.
- After that, you may need to adjust your feeding ratio / timing to fit with the recipe you’re following. I feed my starter every 2-4 days using a 1:4:4 ratio (15g starter : 60g flour : 60g water). If you aren’t intending to use your starter every day, it is best to keep it in the fridge to slow down the fermentation process. Your starter won’t need feeding as often (once every 1-2 weeks should be enough). To revive your starter, take it out of the fridge and leave at room temperature for about an hour before feeding it and place in a warm spot until bubbly.
* During fermentation, your starter will produce gas which has to escape somehow. Using a loose lid will prevent the jar from bursting.
Note: If you’ve been keeping your sourdough starter for a while, you may notice a brown liquid (also called “hooch”) forming on top of the starter. This is a sign that your starter needs feeding. Hooch is simply alcohol that is produced by the fermentation process. It’s harmless, but it does indicate that your starter is running low on ‘food’ and needs to be fed. To revive a starter with hooch, simply pour off the liquid and discard it. Then, give your starter a good stir, and feed it as you normally would. This will refresh your starter and provide it with fresh food to continue growing.


One of the things that makes sourdough bread unique is the way it’s made. Unlike other breads, which require kneading to develop gluten, sourdough bread relies on fermentation to create its signature texture and flavour. This means that making sourdough bread can be a bit of a process, but the end result is worth it. Let’s bake!
Sourdough Recipe

Easy Sourdough Bread
Equipment
- Dutch oven
Ingredients
- 250 g lukewarm water
- 160 g bubbly sourdough starter
- 25 g vegetable oil
- 520 g strong bread flour
- 12 g salt
Instructions
- In a large bowl, combine the water, sourdough starter and vegetable oil. Once combined, add the strong bread flour and salt. Stir the ingredients together using a fork until the flour is fully absorbed, then cover the bowl with a damp kitchen towel or cling film and leave to 'autolyse' for 30-60 minutes. Autolyse is the resting period right after you mix your dough it jumpstarts gluten development without kneading.
- Wet your hands and gently stretch and fold the dough. Shape it into a ball and place it into a well-floured bowl, then leave it to rise at room temperature until it has doubled in size. This can take anywhere from 3-15 hours depending on your room temperature and the potency of your starter.
- When the dough has doubled in size, remove it from the bowl onto a lightly floured surface. Shape it into a ball by gently folding the dough over toward the centre, then place it into a generously floured Dutch oven.
- After shaping, the dough needs to rise again. Cover your Dutch oven with a lid and let the dough rise for about 30-60 minutes. The dough is ready once it is puffy and no longer dense.
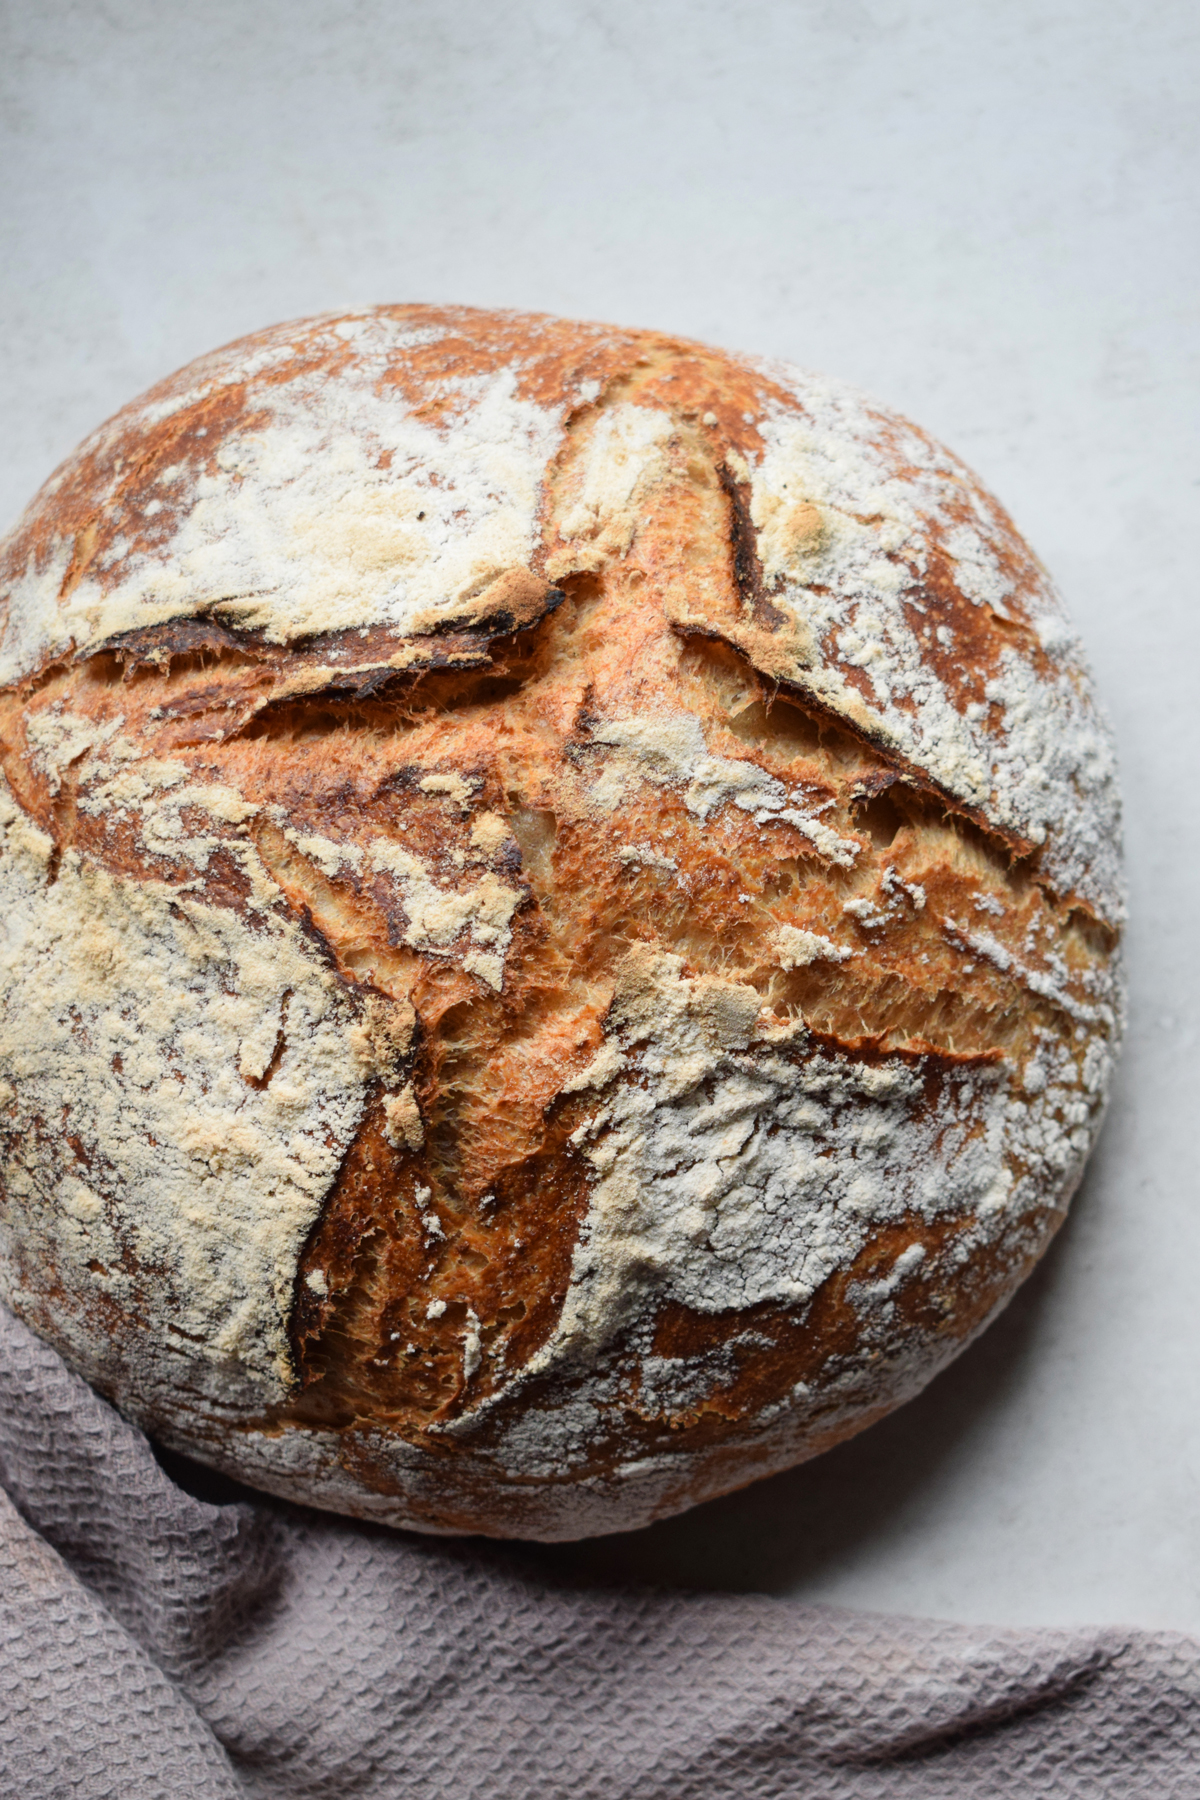
- Preheat your oven to 230 degrees Celsius. Just before the dough goes into the oven, score it using a bread scoring lame or a small knife. This will allow steam to escape and will help the dough expand during baking.
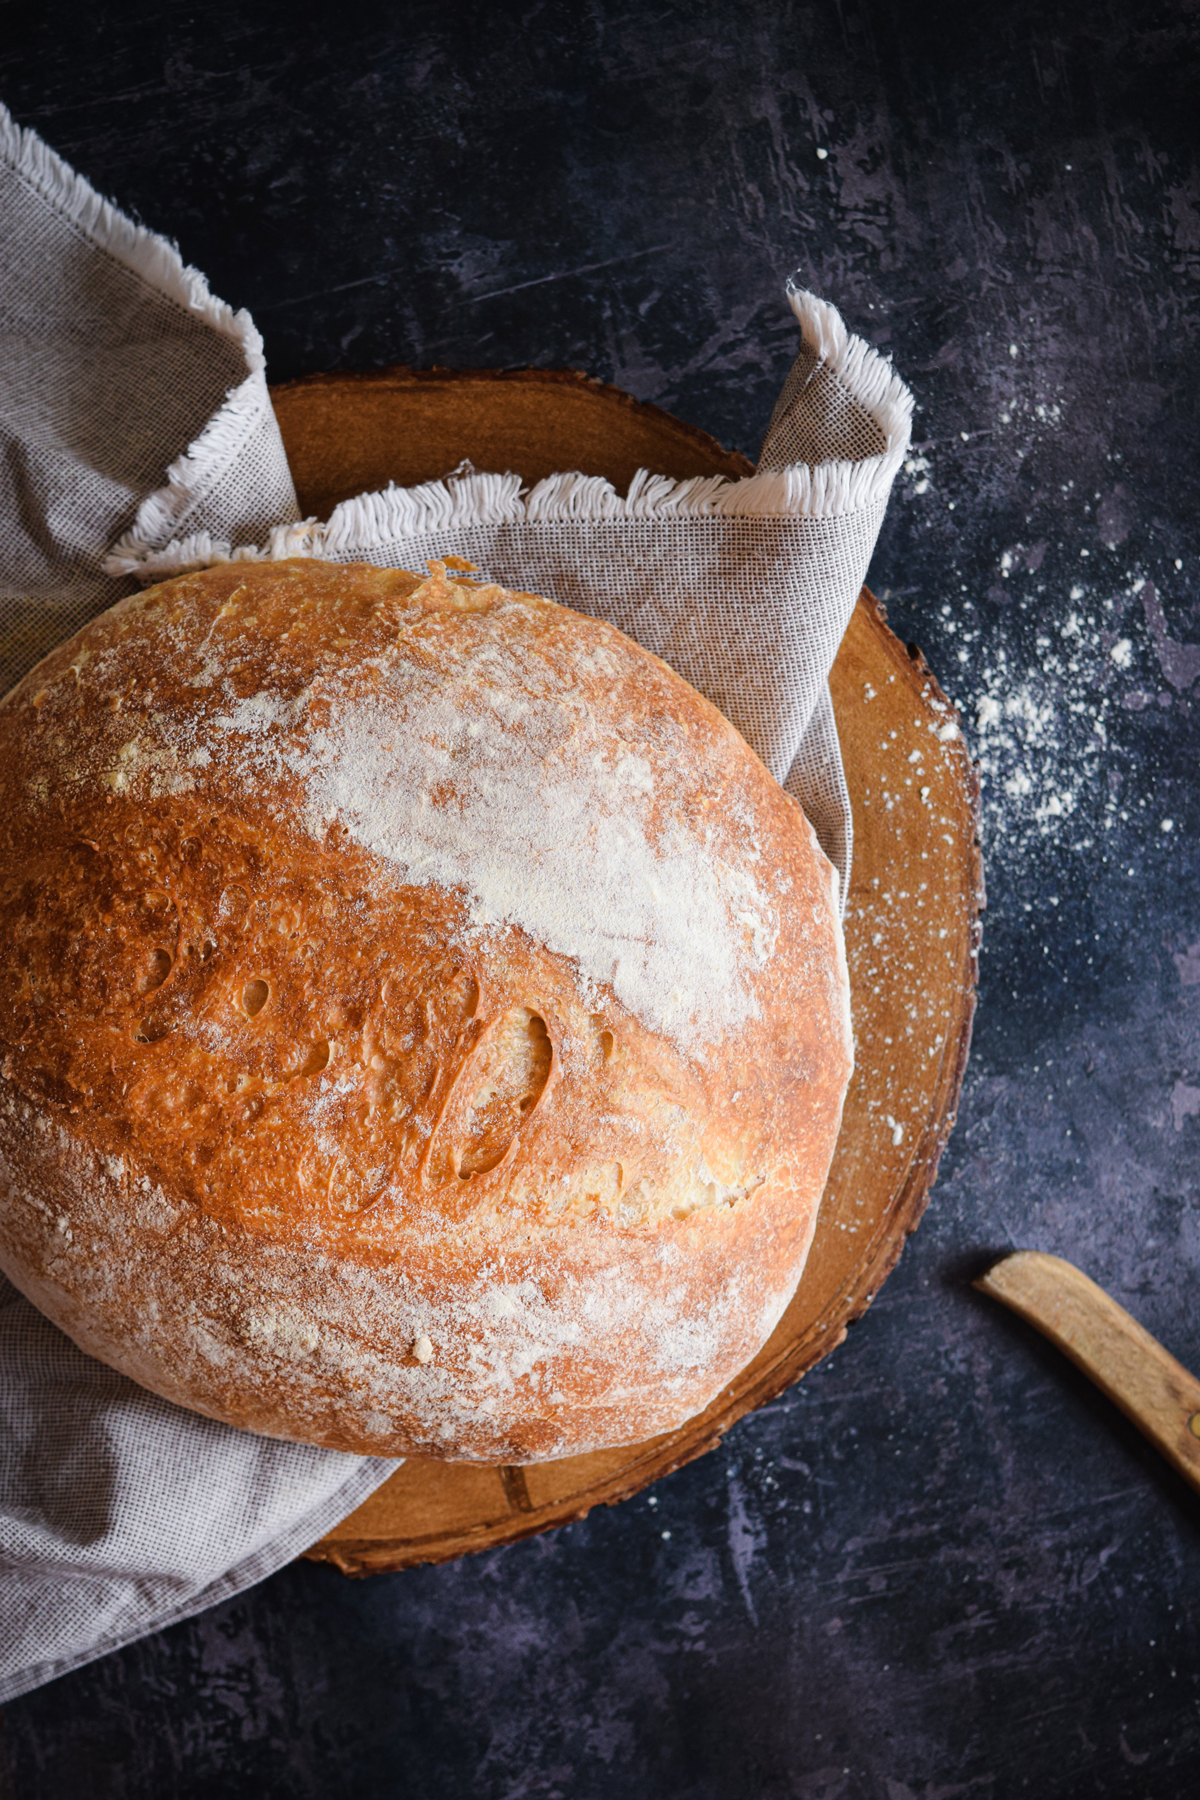
- Place the lid on top of the pot and reduce the oven temperature to 200 degrees Celsius. Bake in the middle of the oven with the lid on for 25 minutes. Then, remove the lid and continue to bake uncovered for an additional 30-35 minutes or until deep brown in colour. During the last 5-10 minutes of baking, open the oven door. This will allow steam to escape and will leave your sourdough bread with a delicious crisp crust!
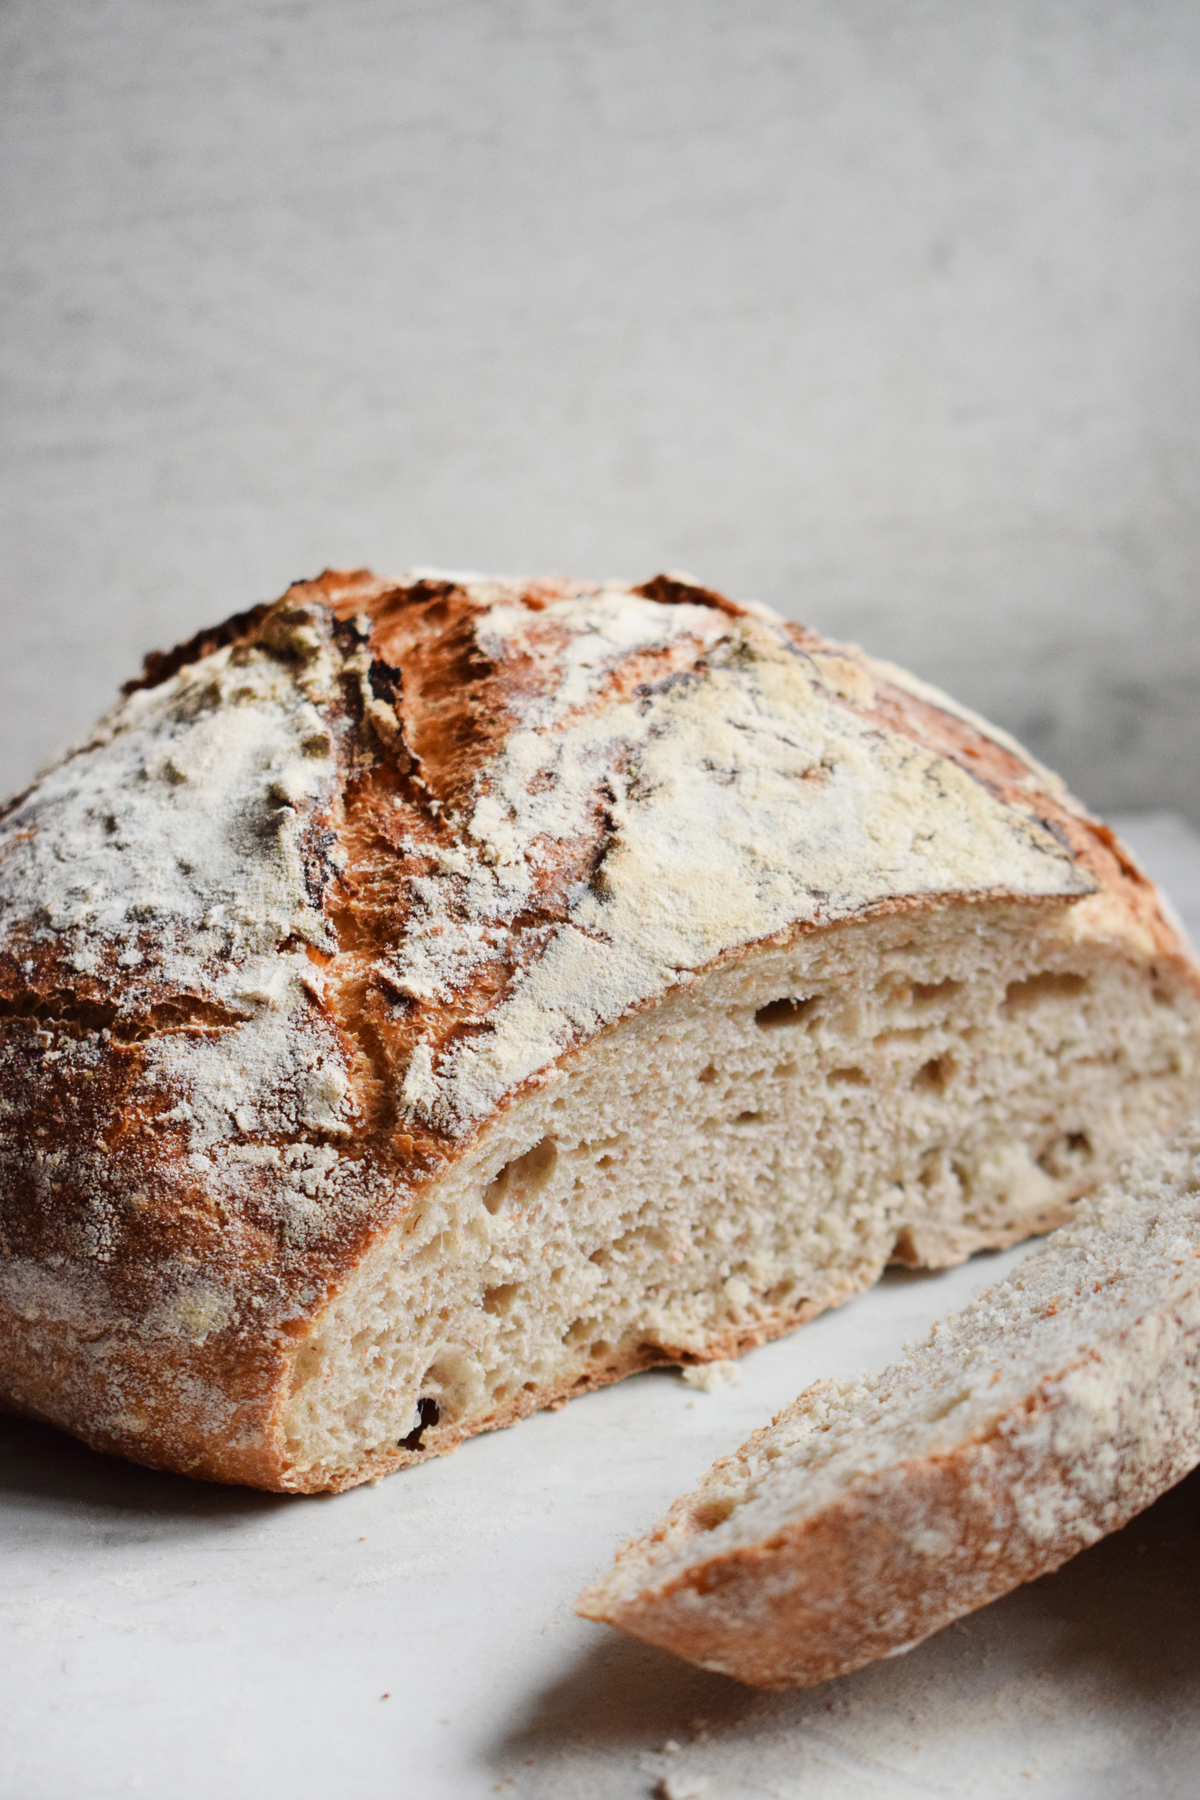
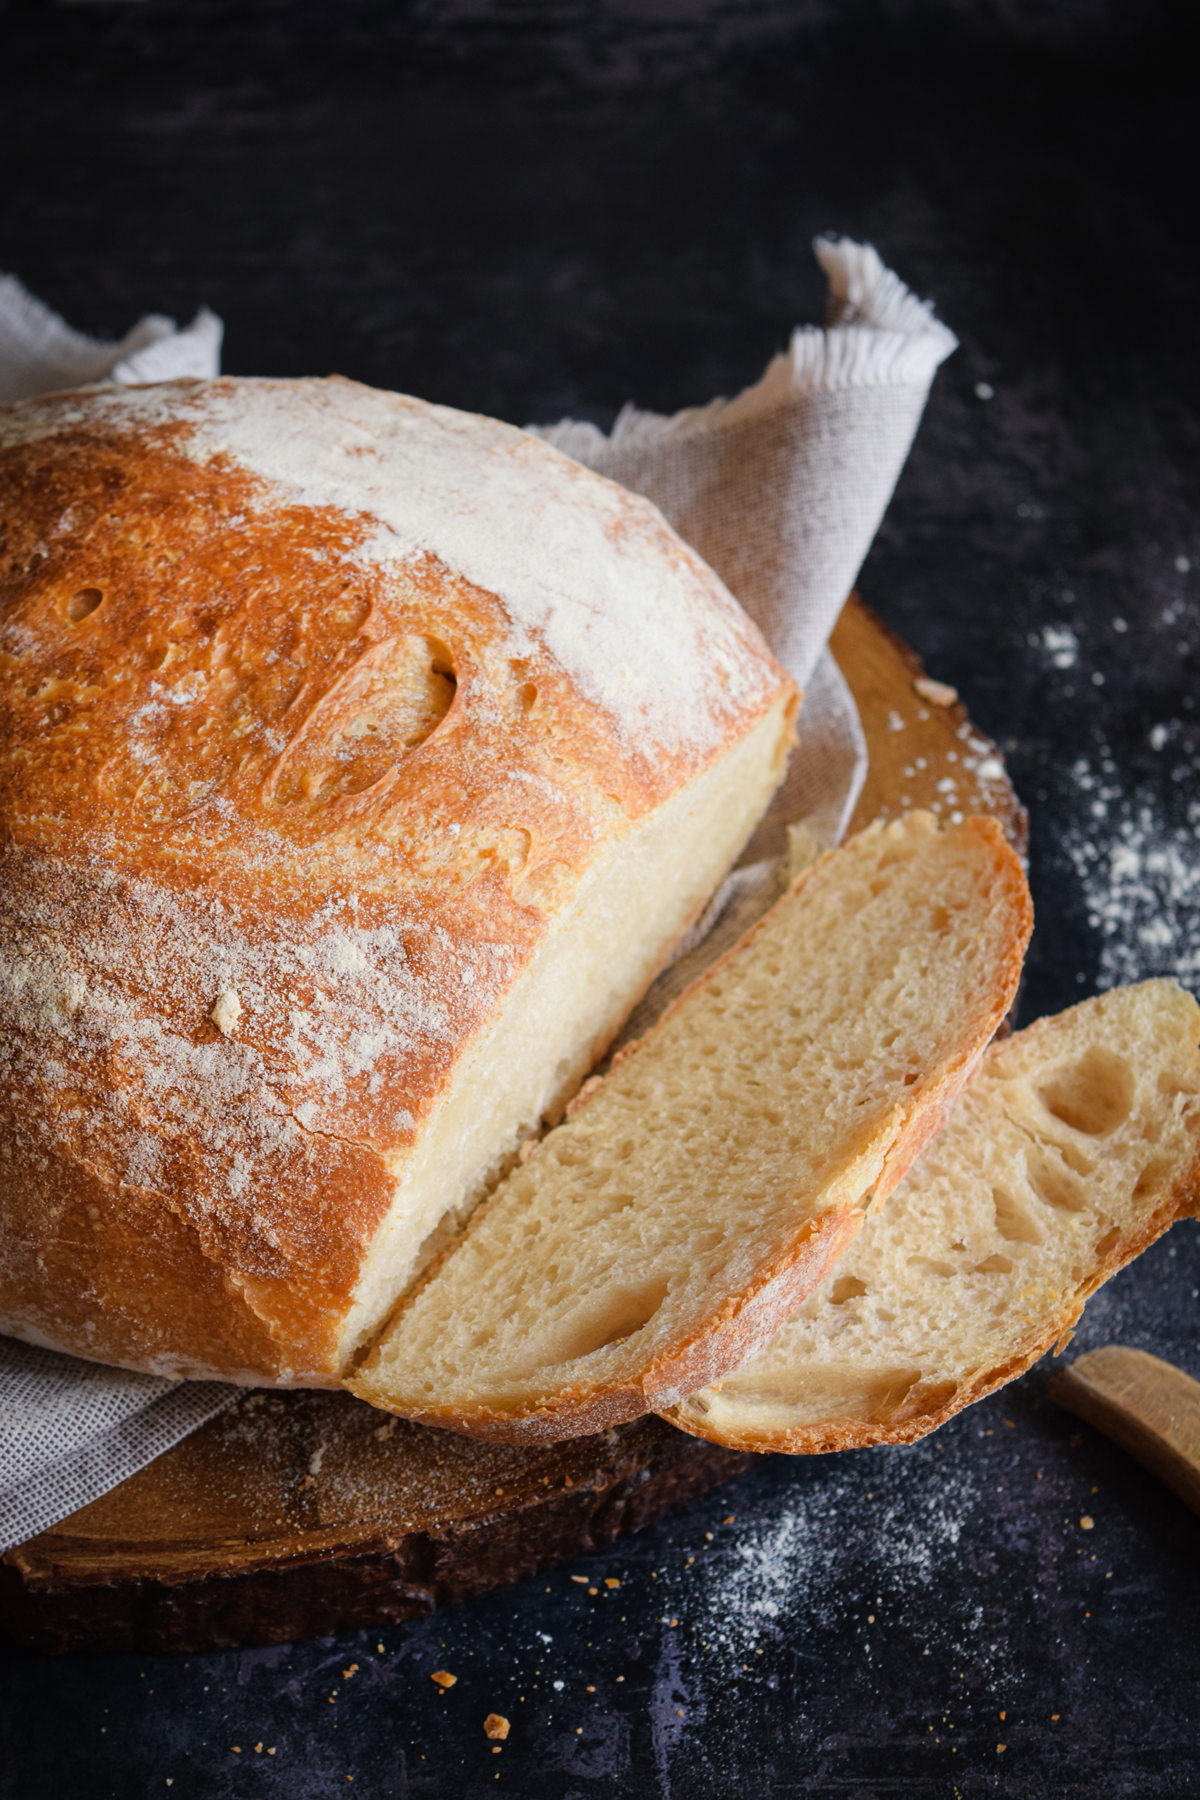
- Once baked, cool your bread on a wire rack before slicing. Remember, if you cut the bread while it is still warm, it will be gummy.
- And there you have it – your very own homemade sourdough bread. Enjoy it with butter, jam, or your favourite toppings. Happy baking!
Sourdough Troubleshooting
If your sourdough bread is not rising, it may be because your starter is not active enough. Make sure your starter is bubbly and active before using it in your dough. You can also try giving your dough more time to rise, or adding more starter to your recipe.
If your sourdough bread is too dense, it may be because you didn’t give your dough enough time to rise, or because your dough is too dry. Try increasing the hydration of your dough by adding more water, and give it more time to rise before baking.
Sourdough bread is supposed to have a tangy, sour flavour, but if it’s too sour for your taste, you can try reducing the amount of starter in your recipe, or reducing the fermentation time.
If your sourdough bread is not crispy, it may be because you didn’t give it enough time to bake, or because you didn’t let the steam escape during baking. Make sure to bake your bread for the full recommended time, and open the oven door during the last few minutes of baking to let the steam escape.
If your sourdough bread dough is too sticky, it may be because you added too much water to your dough. Try adding more flour to your dough to make it less sticky, or use a bench scraper to handle the dough more easily.
A flat sourdough bread could be due to under-proofing or over-proofing. If your dough doesn’t rise enough, it won’t have the structure it needs to rise in the oven. Conversely, if you let it rise for too long, it may collapse during baking. Experiment with proofing times to find the sweet spot.
A gummy or moist sourdough bread could be due to under-baking. Make sure you’re baking your bread for long enough to fully cook the interior. Also, be sure to let it cool completely before slicing. Cutting into warm bread can cause it to become gummy.
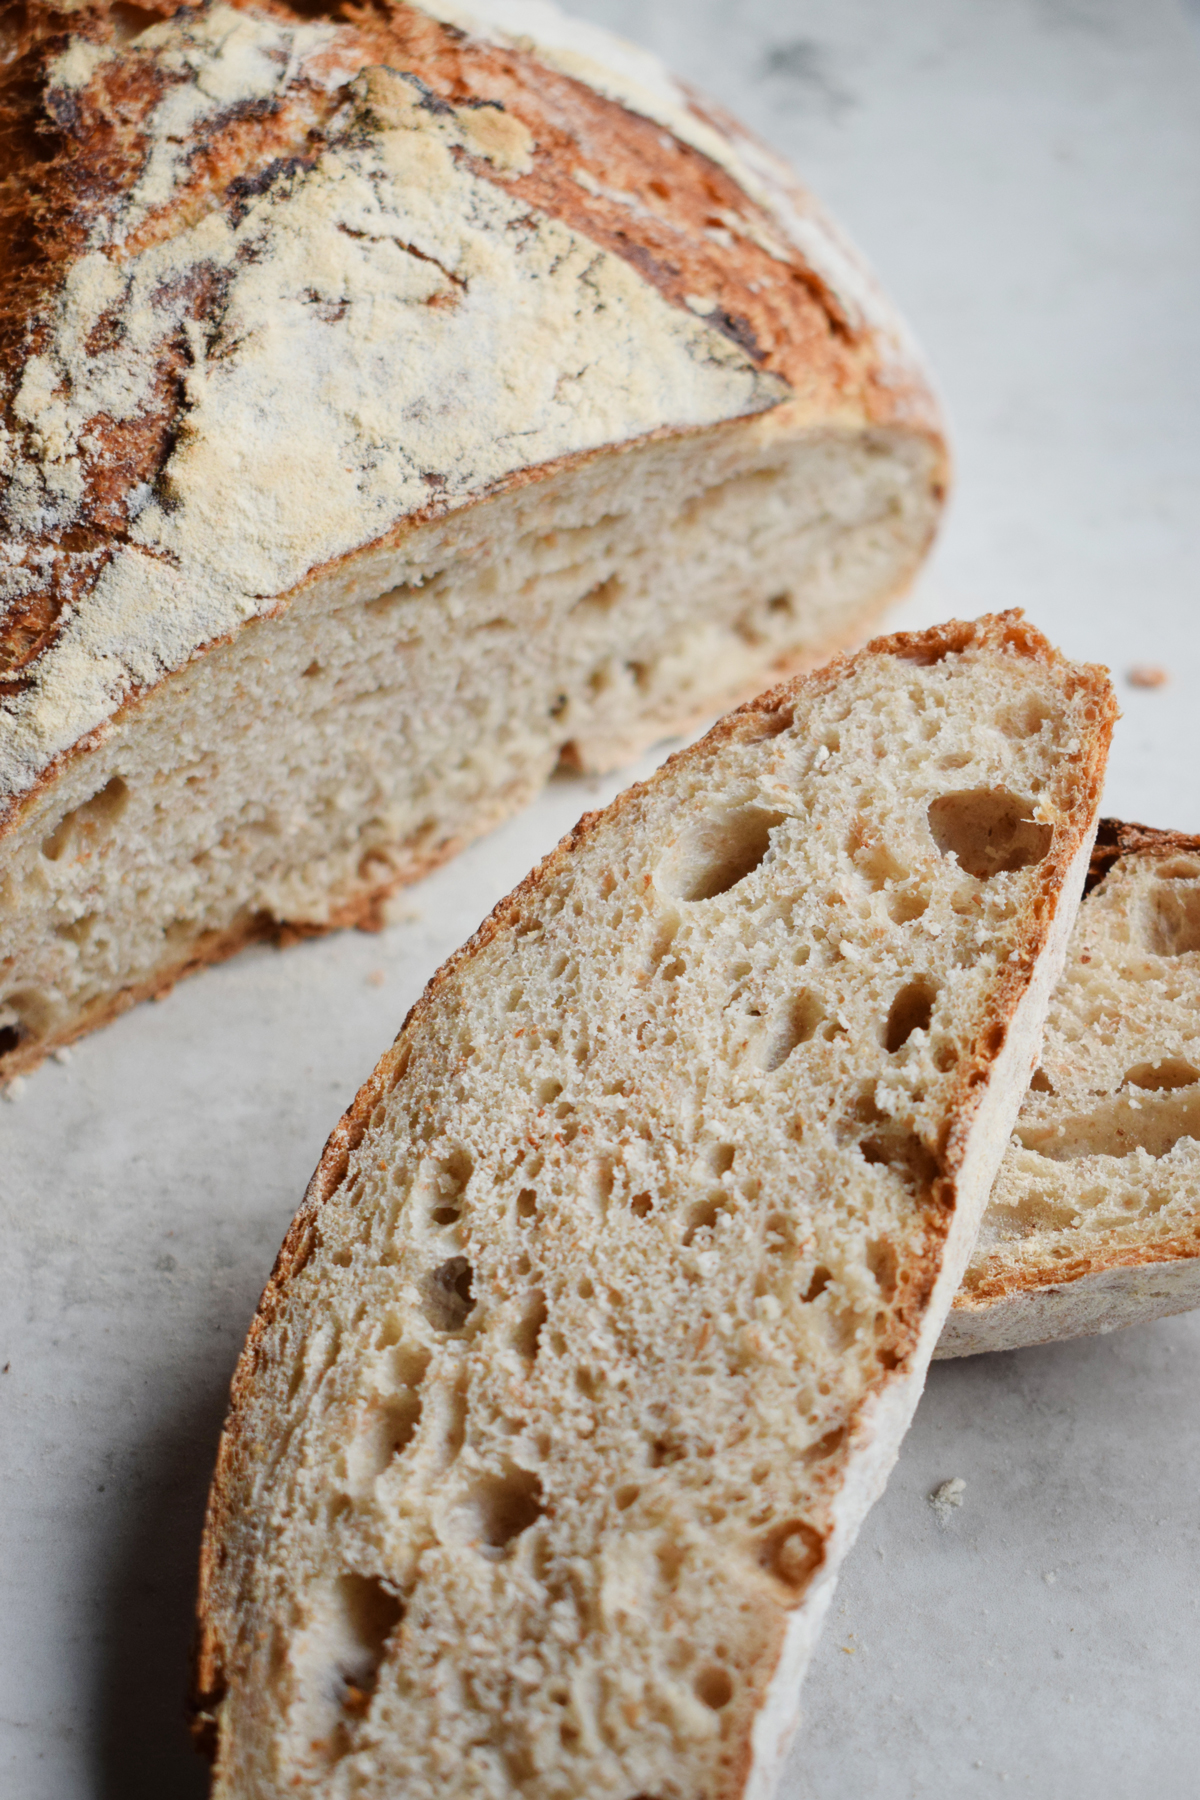
Large air pockets in sourdough bread are usually a good thing, but if they’re too large, it can make the bread difficult to slice and use. Large air pockets could be due to over-fermentation, under-kneading, or over-proofing. Try adjusting your fermentation time, kneading technique, or proofing time to achieve a more even crumb.