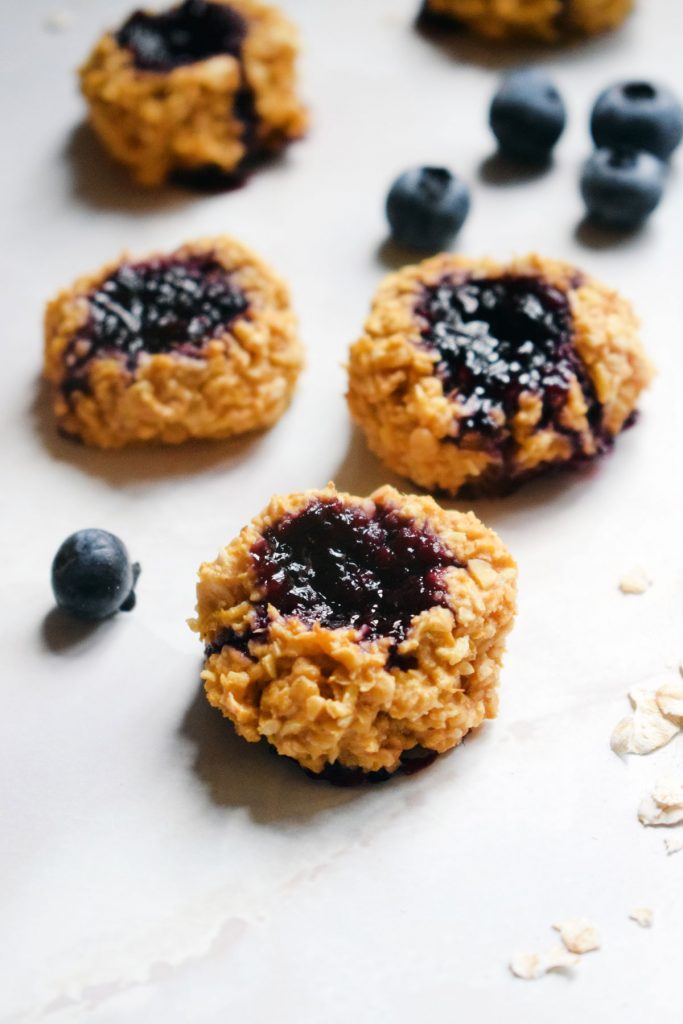
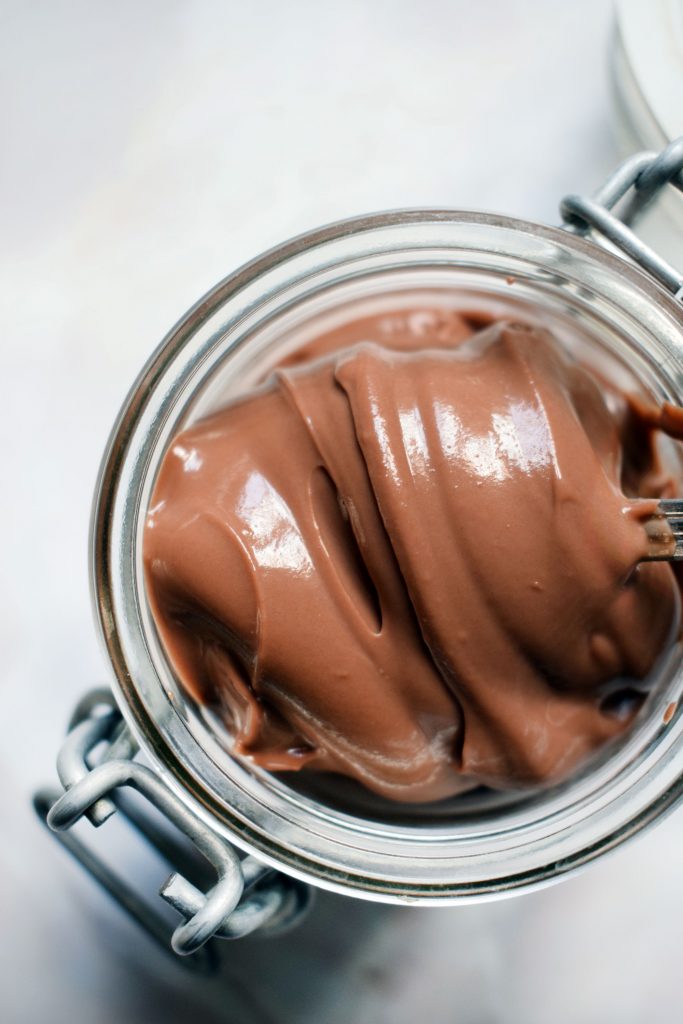
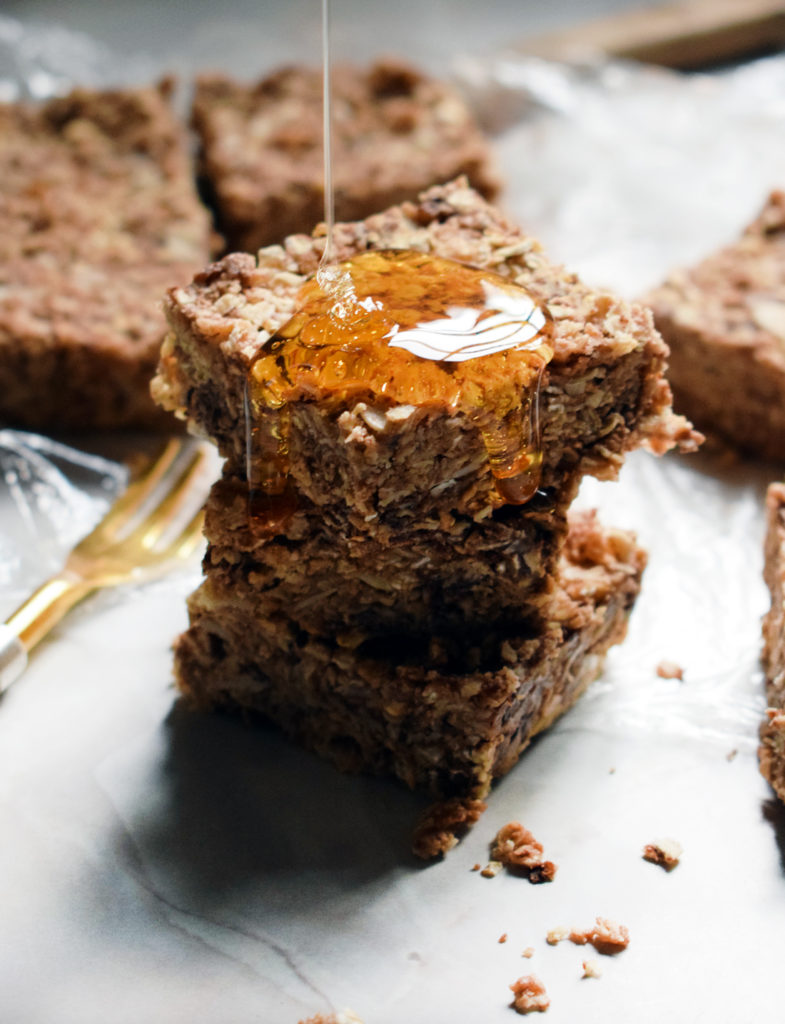
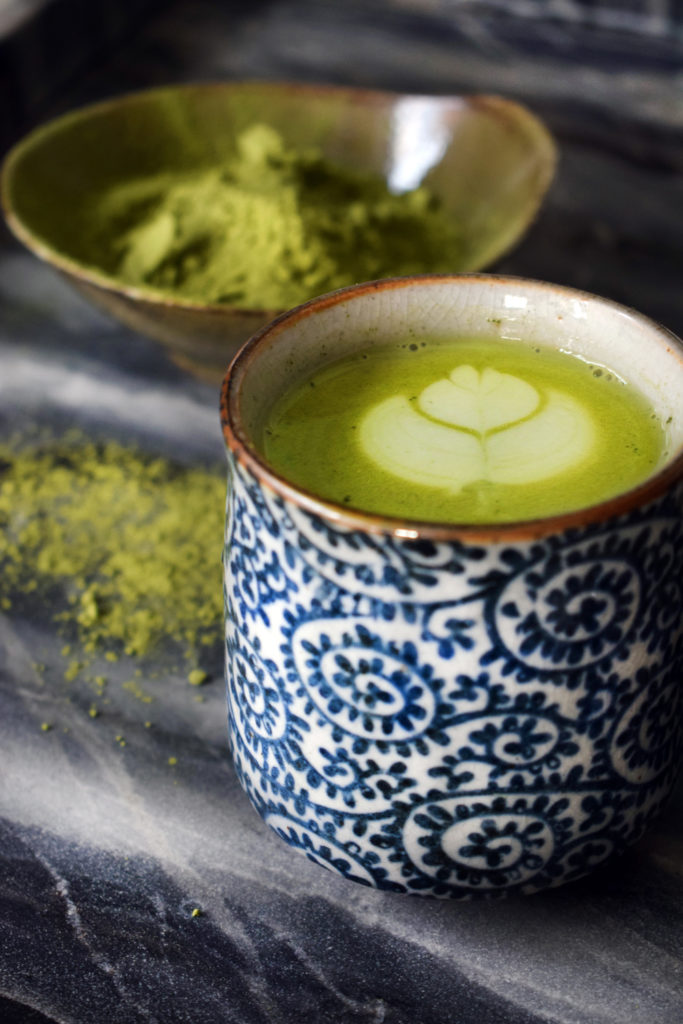
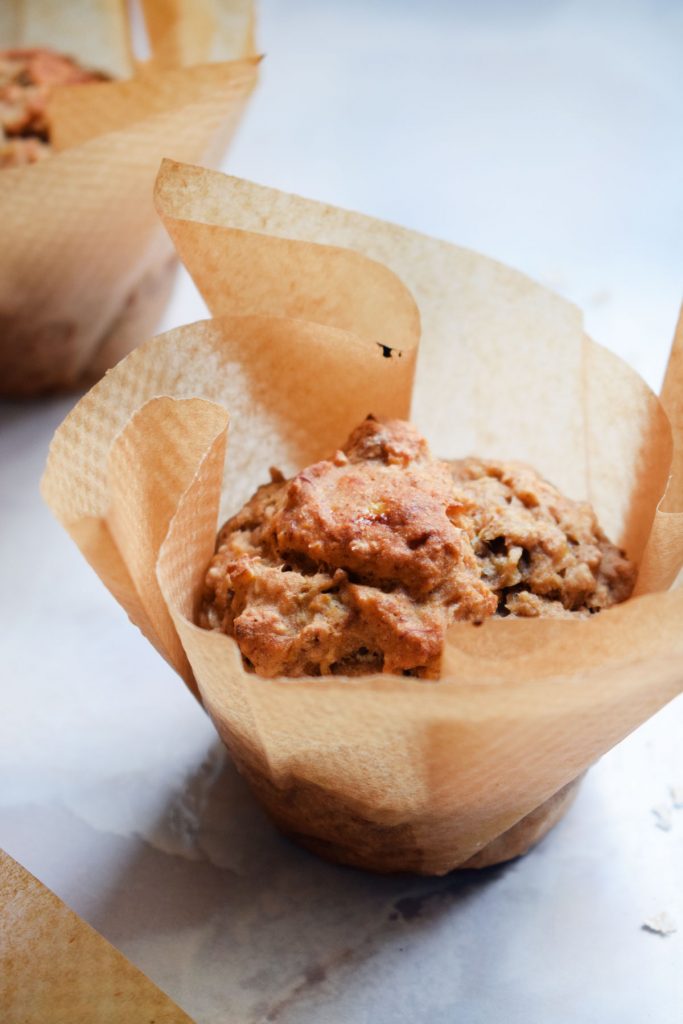
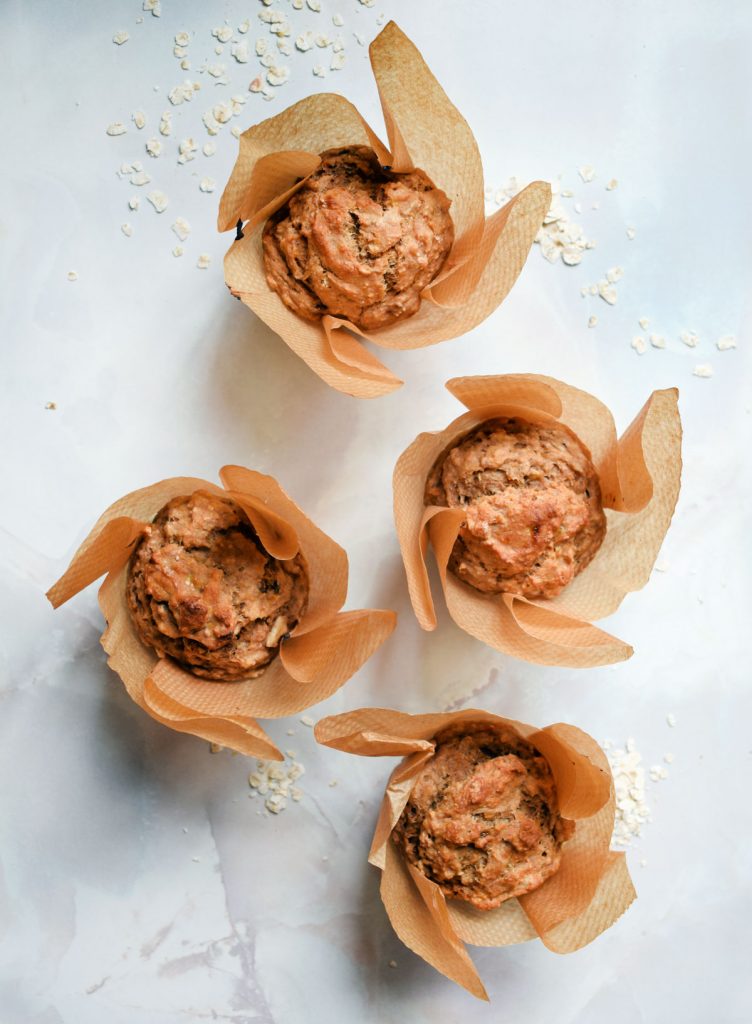
Don’t get me wrong, I am by no means an expert at this but I think it is safe to say that my food photography skills have improved with practice.
Having been blogging and photographing food for well over a year now, I wanted to share some of my tips and techniques to help beginner food bloggers. Because starting off can be frustrating, I know.
Rule number 1: Natural lighting
I think my biggest and most important tip I can give you is use natural lighting. Don’t EVER use your built-in flash, or overhead lights as they tend to create harsh reflections and glare. Good natural lighting is the single, key criteria in taking good food photography. It provides a much more neutral coloured light compared to artificial lighting, meaning the colours of the food, plates and other elements will appear more accurate. Whilst direct sunlight tends to be too harsh and creates dark, distracting shadows, a shady spot on a sunny day is like the holy grail of all lighting conditions.
Rule number 2: Take your background into account
When it comes to food photography, the background is really important and can make all the difference. Surround your dish with ingredients and props that relate to the food but remember, over-complicated, messy backgrounds can distract the viewer. Your background should complement the food rather than suppress it. You don’t need any fancy worktops or custom made backdrops. I find that wooden or marble backgrounds, such as chopping boards or worktops, tend to look great with almost any kind of food.
Now, think about your props. Whilst your viewers may only acknowledge these things on a subconscious level, the choice of props such as tablecloths and dishes can all contribute to the mood of your shot. But remember, less is more. Don’t over clutter your photograph with things you don’t need. Focus on what is important (the food!), and if that fork or jug doesn’t add to the photo, it detracts from the photo.
Rule number 3: Try different angles
Not all angles are suitable for all dishes. Some foods, such as pizzas or soups, look best from above. Things like burgers or tiered cakes look their best from the side. When shooting, try moving the plate and camera around, capturing your dish from all angles so you can pick your favourite shot later.
Rule number 4: Get the right kit
And no, I don’t mean a super fancy camera, but don’t just use a phone. If you think you need super fancy equipment to take appealing food photos, you’re wrong. Entry-level DSLR’s are more than good enough for food bloggers and these days you can snap one up for just £200. Of course, if you feel like splashing out, it is worth investing in a good quality lens, but it is not necessary.
And finally…
It might be worth investing in good editing software like Adobe Lightroom or Adobe Photoshop. Do take time to edit your photos afterwards, even small tweaks like slightly enhancing the colours or contrast of your photos can make all the difference.
